Edgebanding Blog
Edgebanding Trouble Shooting Guide

Edgebanding is a crucial step in creating durable and aesthetically pleasing furniture and cabinetry. However, achieving a perfect edgeband can sometimes be challenging, with various issues potentially arising during the application process. This troubleshooting guide is designed to help you identify, understand, and resolve common edgebanding problems, ensuring a smooth and high-quality finish for all your projects.
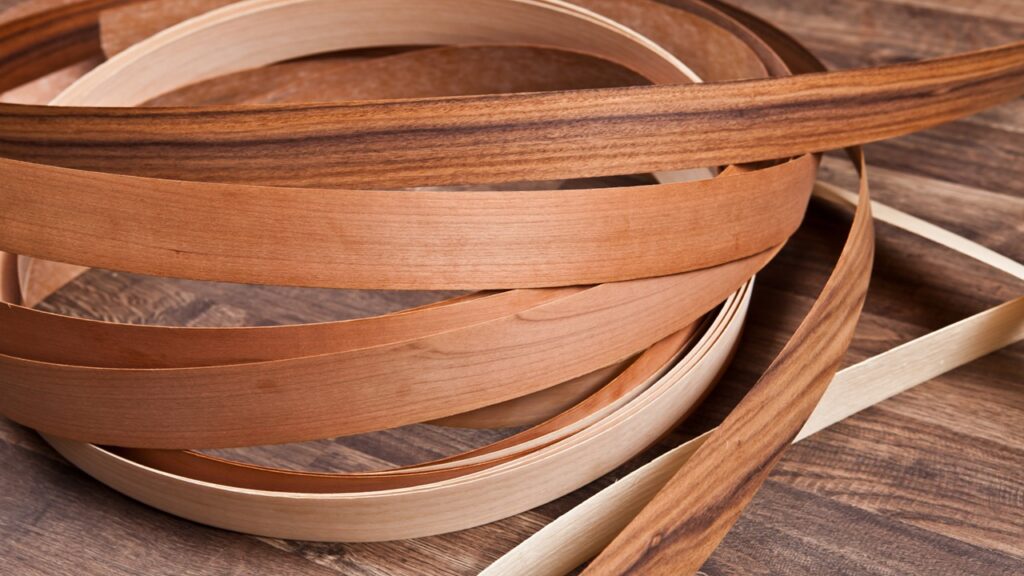
Polymer Edgebanding (PVC, ABS, PP, PMMA-3D, PLA)
| Symptom | Possible Causes | Corrections/Remedies |
| Edgebanding pulls off easily by hand. Hotmelt remains on board. The grid pattern of the glue application roller is visible | Not enough adhesive applied Ambient temperature too low Edgebanding or board material too cold Hotmelt temperature too low Feed rate too slow Pressure from the pressure rollers too low | Increase adhesive laydown Increase ambient temperature to 20ºC Store board and Edgebanding at room temperature overnight Increase feed rate Increase pressure on pressure rollers |
| Edgebanding pulls off easily by hand. Hotmelt remains on board. Hotmelt surface totally smooth, Edgebanding slips off | Board and Edgebanding too cold Wrong adhesive type Not sufficient primer | Store board and edgebanding at room temperature overnight Check Technical Data Sheet of adhesive for application temperature, feed speed, and viscosity Check underside of Edgebanding for primer (dull finish = primer is applied, gloss finish = no primer is applied) |
| Open glue joint between Edgebanding and board | Not enough pressure applied Adhesive too cold Board temperature too cold Concavity of Edgebanding is not enough or is even convex | Increase pressure on pressure rollers Store board at room temperature over night Lay Edgebanding on flat surface and see, if slight bow of Edgebanding is visible |
| Chatter marks are visible after trimming | Feed rate is too high RPM of trimmers is too low | Increase feed rate and RPM of trimmers Use scraper at 0.1mm and apply buffing wheel |
| Whitening on the trimmed edge appears (especially on darker colors) | Scraping is too thick stressing the plastic molecules | Reduce scraper to 0.1mm Apply buffing wheel (friction heat) |
| Particleboard structure is visible through the Edgebanding | Edgebanding is ‘molded’ into the particleboard | Use thicker Edgebanding (1mm or thicker) Use MDF or higher quality particleboard |
| Edgebanding smears when trimming | Edgebanding can “liquify” when too much friction heat is applied | Reduce number of blades on trimmer Trim Edgebanding against the feed of the board Increase feed rate Stay within rpm range of trimmer of 15,000 to 18,000 rpm Change the direction of the trimmers to the same direction as the board (for PP Edgebanding only) |
| Edgebanding is coming off the board at the board radius | Adhesive not strong enough to hold Edgebanding in place Edgebanding is too thick Radius is too tight | Try different adhesive or increase temperature to maximum range of adhesive (see Technical Data Sheet) Use thinner Edgebanding Increase radius to 2” outside and 3” inside |
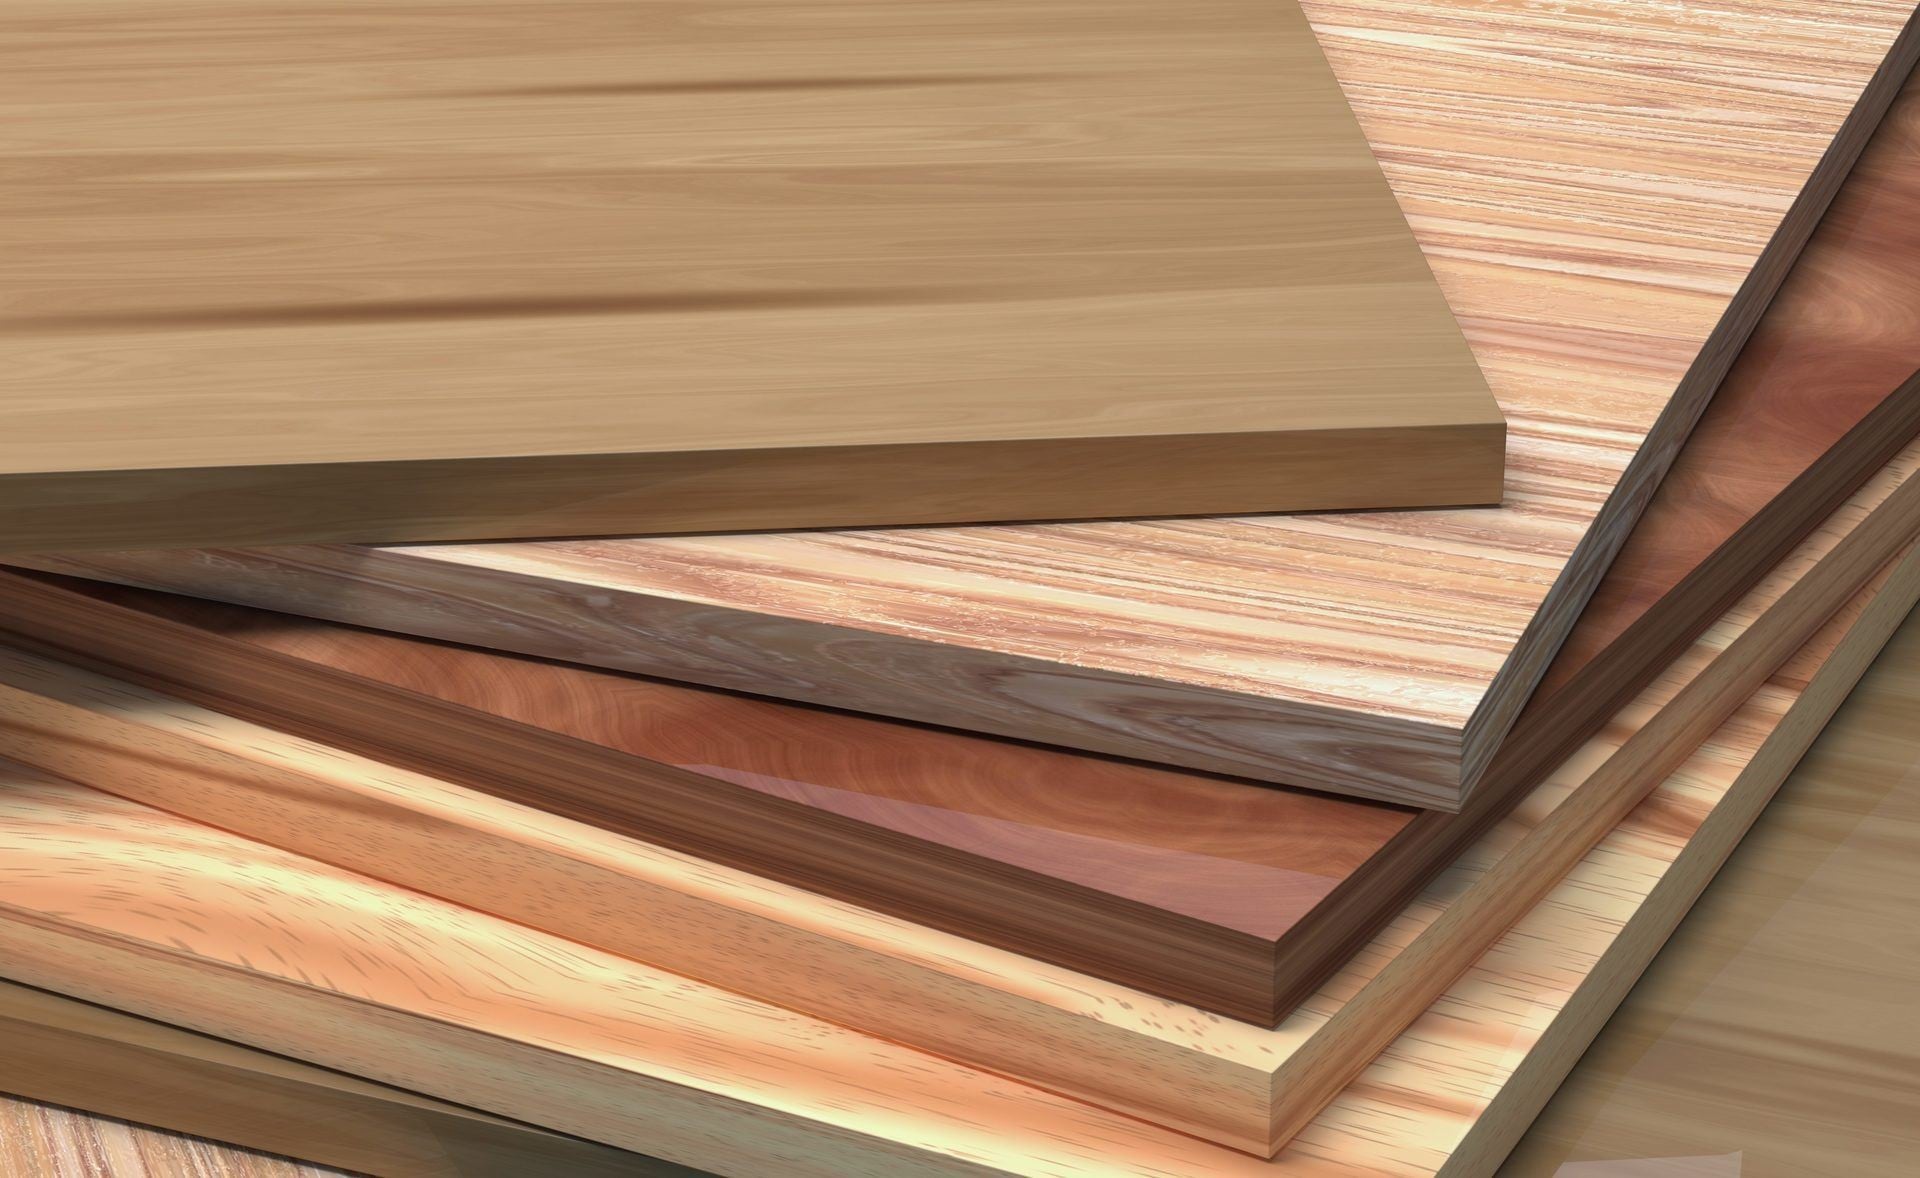
Veneer Edgebanding
| Symptom | Possible Causes | Corrections/Remedies |
| Poor adhesion | Multiple Causes | Please click here to go to our Adhesive Trouble Shooting Guide |
| Chip or tear outs | Dull knives or trimmers | Sharpen knives and trimmers regularly. If the veneer edge still chips or tear, consider using wood fillers or touch-up markers to repair the damaged area. |
| Color and Grain Matching | Veneer is a natural product with variation in color and grain structure | Select veneer Edgebanding that closely match the substrate in color and grain structure Consider a stain or dye to tine the Edgebanding better to the substrate. |
| Warping or Buckling | Temperature and humidity | Choose a high-quality Edgebanding that is properly dried to minimize warping. Ensure that the substrate material is also adequately dried and acclimated before applying the Edgebanding. For optimum panel finishing and fabrication, composite panels and laminate materials should be conditioned at 35% to 45% relative humidity and 70F (21C) to achieve an equilibrium moisture content (EMC) between 6% and 9% (Source: CompositePanel.org) |
General Consideration
Machine Maintenance: Regular cleaning and maintenance of the edgebander are paramount. This includes cleaning glue pots, rollers, pressure wheels, and trimmer units. Lubrication of moving parts is also important.
Pre-milling Unit: If your edgebander has a pre-milling unit, ensure it is properly calibrated and the cutters are sharp. A perfectly square and clean edge on the board is crucial for optimal edgebanding adhesion. Uneven or chipped board edges will always result in a poor bond.
Adhesive Shelf Life & Storage: Always check the shelf life of your hotmelt adhesive. Store it according to the manufacturer’s recommendations (cool, dry place) to prevent degradation. For additional problems related to hotmelt adhesive, please see our Hotmelt Adhesive Trouble Shooting Manual.
Edgebanding Quality: Inconsistent edgebanding thickness, width, or material composition can lead to various problems. Ensure you are using high-quality edgebanding from a reputable supplier.
Trial and Error / Record Keeping: When troubleshooting, change only one variable at a time and document the results. This systematic approach will help pinpoint the exact cause of the issue. Keeping a log of machine settings for different materials and conditions can be invaluable.
Manufacturer’s Guidelines: Always refer to the specific edgebander machine manual and the adhesive manufacturer’s Technical Data Sheets (TDS) for detailed specifications and recommendations.
Author: Markus Raves, RAMS Industries, Ltd.

Peer-Reviewed By Gabriel Foti, Regional Team Leader, Edgebanding, Homag Canada Ltd. and Riley Moore, Edgebanding Product Specialist, Homag Canada Ltd.